Easy Homemade Bread – Simple Recipe For Delicious Loaves
Easy homemade bread is more than just a recipe; it’s an invitation to transform your kitchen into a haven of comforting aromas and satisfying textures. Imagin extracte the simple joy of pulling a warm, crusty loaf from your own oven, the kind that makes your heart sing and your stomach rum extractble. There’s an undeniable magic in creating something so fundamental, so delicious, from scratch. Forget the store-bought loaves that often lack that authentic, artisanal touch. What makes our easy homemade bread so special is its approachability. We’re talking about a recipe designed for success, even if you’ve never kneaded dough before. It’s about reconnecting with a time-honored tradition, about the satisfaction of self-sufficiency, and about sharing a truly wonderful experience with loved ones. This isn’t just bread; it’s an edible hug, a testament to the power of simple ingredients and a little bit of love.”
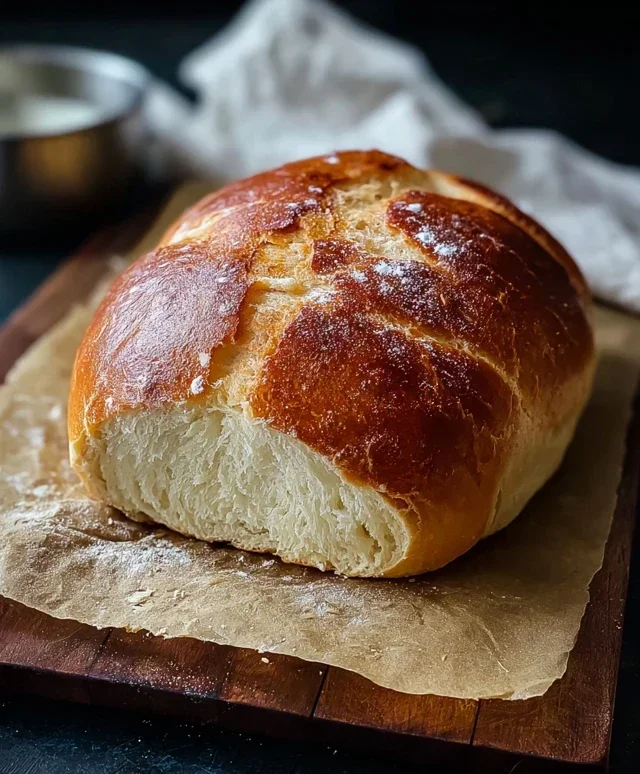
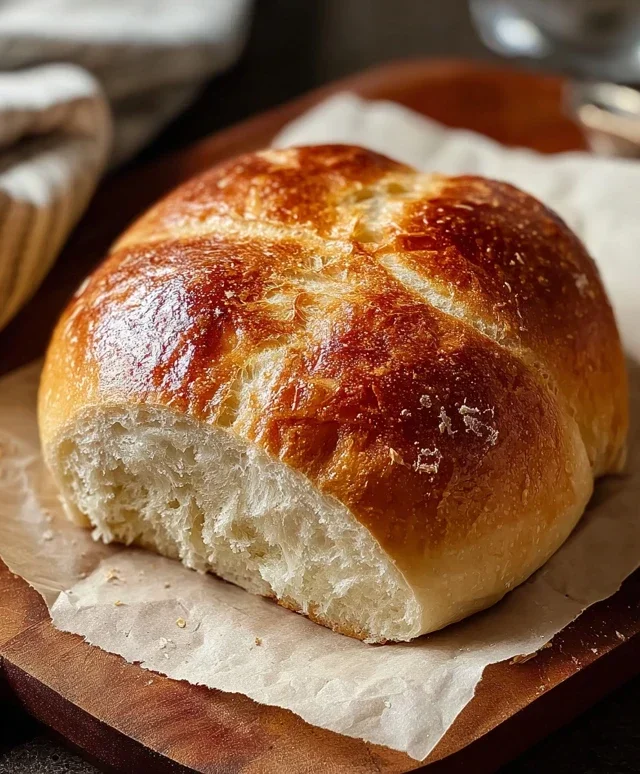
Easy Homemade Bread
There’s something incredibly satisfying about pulling a warm, crusty loaf of homemade bread out of the oven. It fills your kitchen with an irresistible aroma, and the taste is simply unparalleled. Many people shy away from making bread, believing it’s a complicated and time-consuming process. But I’m here to tell you that it doesn’t have to be! This recipe is designed to be straightforward and forgiving, perfect for begin extractners or anyone looking for a quick and easy way to enjoy delicious, fresh bread without the fuss. Forget those store-bought loaves that often lack that true homemade flavor and texture. With just a few basic ingredients and a little bit of your time, you’ll be baking beautiful bread in no time.
Ingredients:
Instructions:
The beauty of this recipe lies in its simplicity. We’re using instant yeast, which means you don’t need to proof it separately in water. This cuts down on a step and makes the process even more streamlined. Let’s get started!
Mixing and Kneading the Dough
In a large mixing bowl, combine the warm water and the instant yeast. Give it a quick stir and let it sit for about 5 minutes. You should see a little bit of foaminess on the surface, which indicates the yeast is alive and ready to work its magic. Now, add the bread flour and the kosher salt to the bowl. Using a sturdy spoon or a spatula, begin extract to mix everything together until a shaggy dough forms. It will look messy at this stage, and that’s perfectly fine. Don’t worry about it being perfectly smooth yet.
Once the ingredients are mostly incorporated, turn the dough out onto a lightly floured surface. If you’re using bread flour, it has a higher protein content, which will result in a chewier loaf with a better structure. However, all-purpose flour is a perfectly acceptable substitute if that’s what you have on hand. Now comes the kneading. This is where we develop the gluten, which gives the bread its structure and elasticity. Start by pushing the dough away from you with the heels of your hands, then fold it back over itself. Rotate the dough a quarter turn and repeat. Continue this process for about 8-10 minutes. The dough will gradually become smoother and more elastic. It should feel slightly tacky but not stick excessively to your hands. If it feels too wet, you can add a tablespoon of flour at a time. If it feels too dry, a teaspoon of water will do the trick. The goal is a pliable, smooth dough.
First Rise (Proofing)
Once your dough is nicely kneaded, it’s time for its first rise. Lightly grease your mixing bowl with a little bit of oil or cooking spray. Place the dough ball in the greased bowl, turning it to coat all sides. Cover the bowl tightly with plastic wrap or a clean kitchen towel. Find a warm, draft-free spot for the dough to rise. This could be a slightly warm oven (turned off, of course!), on top of your refrigerator, or simply in a cozy corner of your kitchen. Let the dough rise for about 1 to 1 ½ hours, or until it has doubled in size. This process allows the yeast to work, producing carbon dioxide gas that makes the dough light and airy.
Shaping the Loaf
After the dough has doubled in size, it’s time to shape it. Gently punch down the dough to release the air. Turn the dough out onto a lightly floured surface again. For a classic loaf shape, gently flatten the dough into a rectangle. Then, starting from one of the shorter sides, tightly roll up the dough, pressing down as you go to create tension. Pinch the seam closed along the bottom. Tuck in the ends and pinch them closed as well. This shaping process helps to create a good crust and a well-formed loaf.
Second Rise (Final Proof)
Prepare a baking sheet by lining it with parchment paper or greasing it and lightly flouring it. Place your shaped loaf onto the prepared baking sheet. Cover it loosely with plastic wrap or a clean kitchen towel. Let the loaf rise again for another 30-45 minutes, or until it has visibly increased in size and looks puffy. You can do a gentle poke test: if the indentation springs back slowly, it’s ready. If it springs back immediately, it needs a little more time.
Baking the Bread
Preheat your oven to 400°F (200°C) during the last 15-20 minutes of the second rise. Once the oven is preheated and the dough has finished its final rise, it’s time to bake! For an extra crispy crust, you can create steam in your oven. To do this, carefully place a metal baking pan filled with hot water on the bottom rack of your oven before you put the bread in. This steam helps the crust form beautifully. Carefully place the baking sheet with your loaf into the preheated oven. Bake for 25-35 minutes, or until the crust is a deep golden brown and the internal temperature of the bread reaches about 200-210°F (93-99°C) when measured with an instant-read thermometer. You can also tap the bottom of the loaf – it should sound hollow.
Once baked, remove the bread from the oven and transfer it to a wire rack to cool completely. Resist the urge to slice into it immediately! Letting it cool allows the internal structure to set properly, preventing a gummy texture. Once cooled, slice it up and enjoy the fruits of your labor. This easy homemade bread is perfect for sandwiches, toast, or simply slathered with butter. Happy baking!
Conclusion:
Congratulations! You’ve now got everything you need to whip up your own delicious loaf of easy homemade bread. This recipe is truly fantastic because it demystifies the bread-making process, proving that you don’t need fancy equipment or years of experience to achieve a wonderfully crusty exterior and a soft, airy interior. It’s a rewarding journey that fills your home with an irresistible aroma and provides a delicious foundation for countless meals.
Imagin extracte slicing into this warm, golden loaf. It’s perfect served simply with a generous smear of butter, but it truly shines alongside hearty soups and stews, as the base for gourmet sandwiches, or even toasted and topped with your favorite avocado spread. Don’t be afraid to experiment with variations! You can knead in herbs like rosemary and thyme for an aromatic twist, stir in some cheese for a savory delight, or even add a handful of seeds for extra texture and flavor. The possibilities are endless, and the satisfaction of creating something so wholesome from scratch is immense. I truly encourage you to give this easy homemade bread recipe a try – you won’t regret it!
Frequently Asked Questions:
Why is my bread not rising?
Several factors can contribute to a lack of rise. Ensure your yeast is fresh and active by proofing it in warm water with a pinch of sugar before adding it to your dough. Also, make sure your proving environment is warm enough – a slightly warm oven (turned off!) or a sunny spot can help. Over-handling or under-kneading the dough can also affect its ability to rise.
Can I make this bread ahead of time?
Absolutely! Once baked and completely cooled, your easy homemade bread can be stored at room temperature in a bread box or a loosely tied plastic bag for 2-3 days. For longer storage, it freezes beautifully. Slice it before freezing for easy toasting.
What’s the best flour to use?
For this particular recipe, a good quality all-purpose flour or bread flour will yield excellent results. Bread flour has a higher protein content, which can lead to a chewier texture and better structure, but all-purpose flour works wonderfully too and is often more readily available.
Easy Homemade Bread
A simple and satisfying recipe for delicious homemade bread, perfect for beginners.
Ingredients
-
1 ½ cups warm water
-
3 cups bread flour
-
1 packet Instant Yeast
-
2 ½ tsp kosher salt
-
1 tablespoon olive oil
Instructions
-
Step 1
In a large bowl, combine warm water and instant yeast. Let it sit for 5 minutes until foamy. -
Step 2
Add bread flour, kosher salt, and olive oil to the bowl. -
Step 3
Mix with a wooden spoon or spatula until a shaggy dough forms. Turn out onto a lightly floured surface. -
Step 4
Knead for 6-8 minutes until smooth and elastic. Place in a lightly oiled bowl, cover with a damp cloth, and let rise in a warm place for 1-1.5 hours, or until doubled in size. -
Step 5
Punch down the dough, shape into a loaf, and place on a baking sheet or in a greased loaf pan. Cover again and let rise for another 30-45 minutes. -
Step 6
Preheat oven to 375°F (190°C). Bake for 30-35 minutes, or until golden brown and the internal temperature reaches 200°F (93°C). -
Step 7
Let cool on a wire rack before slicing and serving.
Important Information
Nutrition Facts (Per Serving)
It is important to consider this information as approximate and not to use it as definitive health advice.
Allergy Information
Please check ingredients for potential allergens and consult a health professional if in doubt.