Easy Lake Food – Pack Perfect Picnic Ideas
Packing food to bring to the lake is an art form, isn’t it? There’s something undeniably magical about a sun-drenched afternoon by the water, the gentle lapping of waves, and the satisfying crunch of a perfectly prepared snack. We all love that feeling of carefree relaxation, and the right food enhances it tenfold. This isn’t just about sustenance; it’s about creating delicious, portable memories.
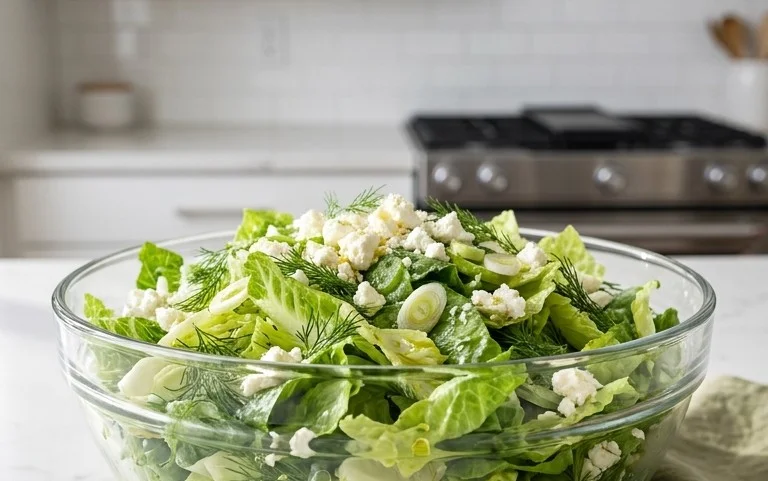
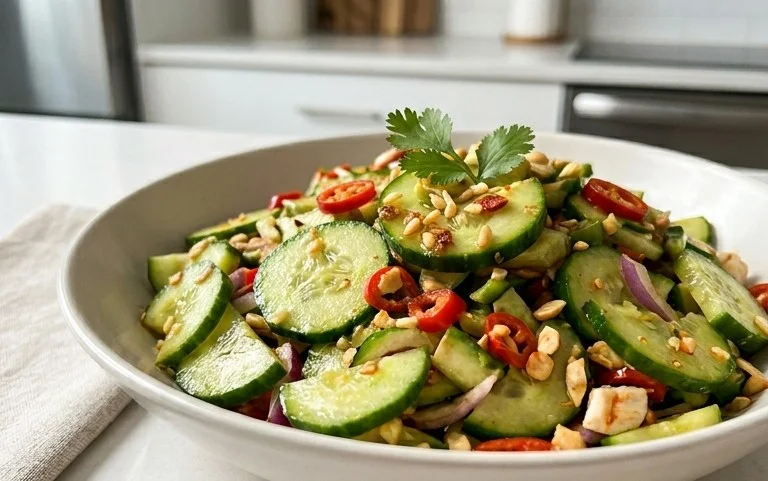
Why We Adore Lake Day Feasts
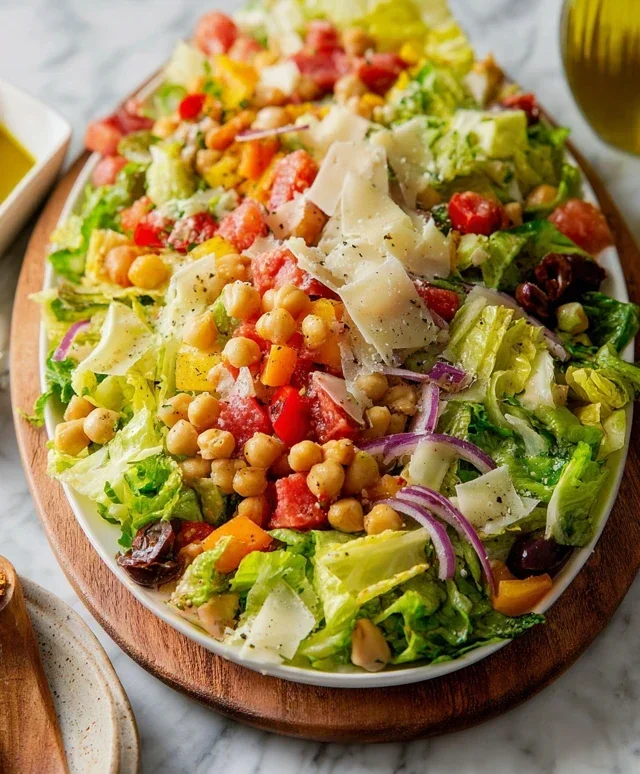
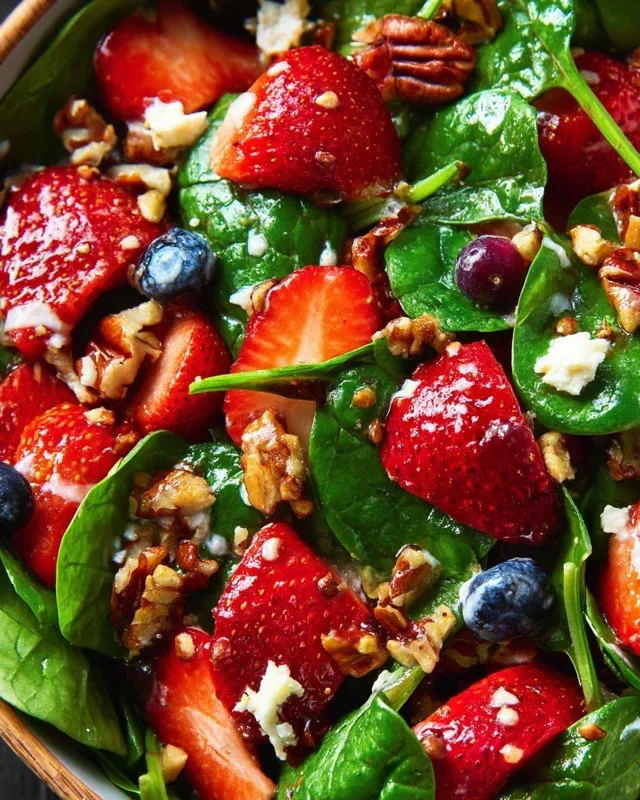
The appeal is simple: it’s about easy enjoyment and zero fuss. We crave dishes that travel well, stay fresh, and require minimal prep once we’re there. This means we can spend more time swimming, fishing, or simply soaking up the sunshine, and less time worrying about complicated meal logistics. The taste of summer, the simple joy of sharing good food with loved ones in a beautiful setting – that’s what makes packing food to bring to the lake so special. These aren’t just meals; they’re integral to the entire lake day experience.
Packing Food To Bring To The Lake
Heading to the lake is one of my favorite ways to spend a summer day. The sun, the water, the good company – it’s all perfect. But a successful lake trip isn’t just about the destination; it’s also about being prepared with delicious and easy-to-eat food. Forget soggy sandwiches and melty cheese! I’ve honed my lake food packing skills over the years, and I’m excited to share my go-to strategies and a simple, crowd-pleasing recipe that travels beautifully.
The key to great lake food is choosing items that are durable, don’t require much refrigeration (or can be kept cool with minimal effort), and are simple to assemble or eat without a full kitchen setup. We want to maximize our relaxation time, not our food prep time by the water!
Ingredients:
Chicken Marinade & Preparation
This recipe focuses on a flavorful, grilled chicken that’s versatile and holds up well. I find chicken breasts or thighs work best because they’re easy to handle and cook quickly. The marinade is crucial for both flavor and tenderness.
1. In a medium bowl, whisk together the olive oil, fresh lime juice, chili powder, cumin, garlic powder, salt, and pepper. This mixture will form the base of our delicious marinade. It’s important to use fresh lime juice for a brighter, tangier flavor that complements the spices beautifully. The olive oil helps to tenderize the chicken and ensures it stays moist during cooking.
2. Add the chicken pieces to the marinade, ensuring each piece is fully coated. You can do this in a resealable plastic bag or directly in the bowl. Marinate for at least 30 minutes, or up to 4 hours in the refrigerator. For a lake trip, I often marinate the chicken the night before and keep it chilled in the fridge until it’s time to cook. This allows the flavors to really penetrate the meat. If you’re pressed for time, even 30 minutes will make a noticeable difference.
Cooking the Chicken
The best way to cook this chicken for a lake trip is to grill it. The smoky flavor is fantastic, and grilling is relatively quick and efficient.
3. Preheat your grill to medium-high heat. Once hot, carefully place the marinated chicken on the grill. Cook for about 6-8 minutes per side, or until the chicken is cooked through and has nice grill marks. The internal temperature should reach 165°F (74°C). Avoid overcrowding the grill; cook in batches if necessary to ensure even cooking and good searing. Remove the chicken from the grill and let it rest for about 5-10 minutes on a cutting board. Resting the chicken is a crucial step that allows the juices to redistribute throughout the meat, resulting in a more tender and moist final product.
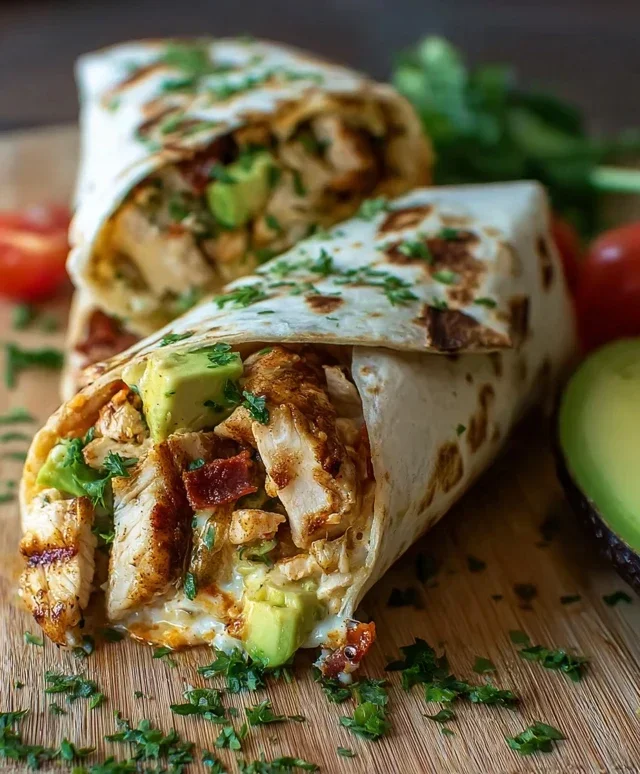
Assembling the Lake-Friendly Tacos
Once the chicken is rested and slightly cooled, we’ll get it ready for assembly. The goal here is to have everything prepped so that at the lake, we can just assemble and enjoy.
4. While the chicken is resting, you can prepare the toppings. Chop the fresh cilantro and finely dice the red onion. If you’re bringin extractg salsa, have it ready to go. If you’re opting for avocado, dice it just before you leave or slice it at the lake to prevent browning. Once the chicken has rested, dice or shred it into bite-sized pieces. This makes it easy to add to the tortillas. I prefer to dice mine into small cubes, almost like a chicken salad consistency.
5. Now for the fun part: assembly! This is where you can get creative. At the lake, you’ll want to have a cooler with ice packs to keep everything fresh. Lay out your corn tortillas. You can warm them slightly over a burner at home before packing them (wrap them in foil to keep them warm for a short period), or serve them at room temperature. Place a generous amount of diced or shredded chicken onto each tortilla. Sprinkle with shredded Monterey Jack cheese, chopped cilantro, and diced red onion. Add a dollop of your favorite salsa. If you like, a spoonful of sour cream or Greek yogurt and some diced avocado make these tacos even more delicious. The beauty of this is that everyone can customize their own tacos.
Packing and Transport
Proper packing is key to ensuring your food stays fresh and enjoyable.
These chicken tacos are perfect for a lake day because they’re packed with flavor, easy to eat on the go, and don’t require any reheating. The vibrant ingredients and hearty chicken make for a satisfying meal that will fuel all your lakeside adventures. Enjoy!
Conclusion:
So there you have it! Packing food to bring to the lake doesn’t have to be a chore, and this collection of delicious, portable recipes is designed to make your next lakeside adventure even more enjoyable. We’ve covered everything from satisfying sandwiches and hearty wraps to refreshing salads and sweet treats, all chosen for their ability to hold up well without refrigeration for a reasonable time and their ease of transport. These recipes are fantastic because they minimize mess, maximize flavor, and cater to a variety of tastes, ensuring everyone in your group will find something they love. Imagin extracte enjoying a perfectly chilled pasta salad or a juicy, pre-made burger while soaking in the sun and scenic views – pure bliss! We encourage you to give these a try for your next outing; you’ll be amazed at how simple and delicious lakeside dining can be. Don’t be afraid to get creative with variations – swap out proteins, add different vegetables, or experiment with unique spice blends to make these recipes your own.
Frequently Asked Questions:
What’s the best way to keep food cool at the lake without a cooler?
For items that need to stay cool but won’t be out for too long, insulated lunch bags or reusable shopping bags with an insulated lining can work wonders. For longer trips or more sensitive items, consider freezing water bottles the night before and using them as ice packs – they’ll melt slowly and provide refreshing drinking water later!
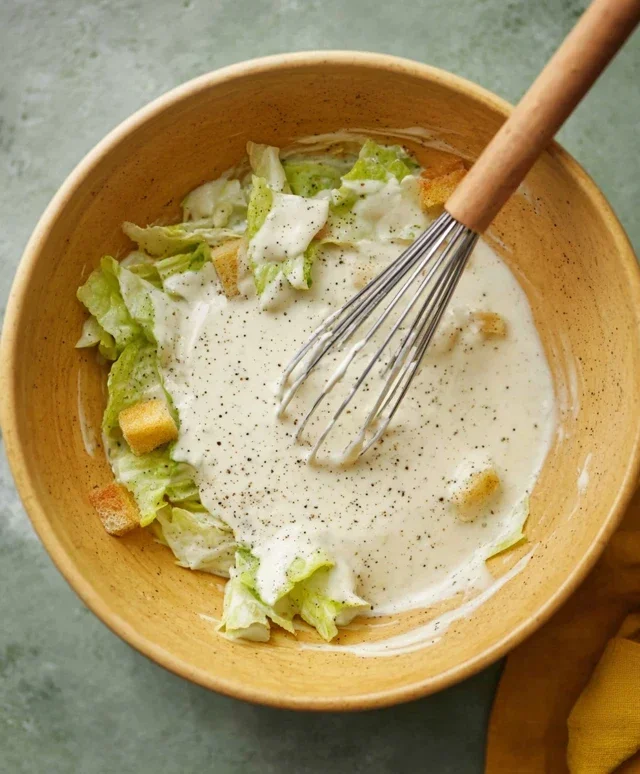
How can I make sure my sandwiches don’t get soggy?
The trick to preventing soggy sandwiches is to create a moisture barrier. Pack wet ingredients like tomatoes or lettuce separately and add them just before eating. Spreading a thin layer of butter or mayonnaise on the bread can also help. For fillings like tuna or egg salad, drain them thoroughly.
Are there any good dessert options that don’t require refrigeration?
Absolutely! Think cookies, brownies, fruit bars, or even pre-sliced pound cake. Fresh fruit like apples, oranges, and grapes are also naturally portable and refreshing. Just make sure to pack them in sturdy containers to prevent bruising.
Lake Day Food Pack
A collection of easy-to-pack, delicious foods perfect for a day at the lake.
Ingredients
-
1 pound cooked chicken breast, sliced
-
2 cups mixed greens
-
1/2 cup cherry tomatoes, halved
-
1/4 cup cucumber, diced
-
2 tablespoons olive oil
-
1 tablespoon lemon juice
-
Salt and pepper to taste
-
4 whole wheat wraps
Instructions
-
Step 1
Prepare the chicken salad: In a bowl, combine sliced cooked chicken breast with 2 tablespoons of mayonnaise and a pinch of salt and pepper. Mix well. -
Step 2
Assemble the wraps: Lay out the whole wheat wraps. Spread a layer of the prepared chicken salad onto each wrap. -
Step 3
Add fresh vegetables: Top the chicken salad with mixed greens, halved cherry tomatoes, and diced cucumber. -
Step 4
Drizzle with dressing: Whisk together olive oil and lemon juice. Drizzle this dressing over the fillings on each wrap. -
Step 5
Roll and wrap: Tightly roll up each wrap. Secure with parchment paper or foil for easy transport. -
Step 6
Pack for the lake: Place the wrapped sandwiches in a cooler with ice packs to keep them fresh.
Important Information
Nutrition Facts (Per Serving)
It is important to consider this information as approximate and not to use it as definitive health advice.
Allergy Information
Please check ingredients for potential allergens and consult a health professional if in doubt.