Easy Fruit Curd Recipe – Delicious & Creamy Dessert
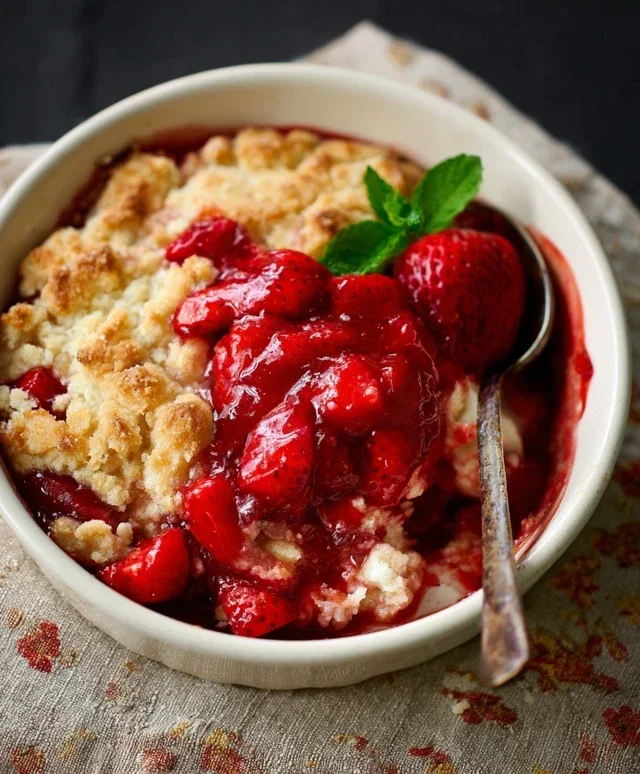
Fruit curd, a jewel-toned, sunshine-infused dessert, is one of those magical creations that can elevate any meal. Imagin extracte a silken texture, a burst of vibrant fruit flavor, and a delightful tang that dances on your palate. It’s no wonder fruit curd holds such a special place in the hearts of home bakers and dessert lovers alike. This isn’t just a simple sauce; it’s a luxurious spread, a dazzling filling, and a delightful topping all rolled into one. Its versatility is truly what makes it so special. Whether you’re dolloping it onto scones, swirling it into yogurt, piping it into tarts, or simply enjoying it by the spoonful, fruit curd brings an instant touch of elegance and pure, unadulterated joy. Get ready to discover just how easy it is to create this incredibly satisfying treat in your own kitchen.
Fruit Curd
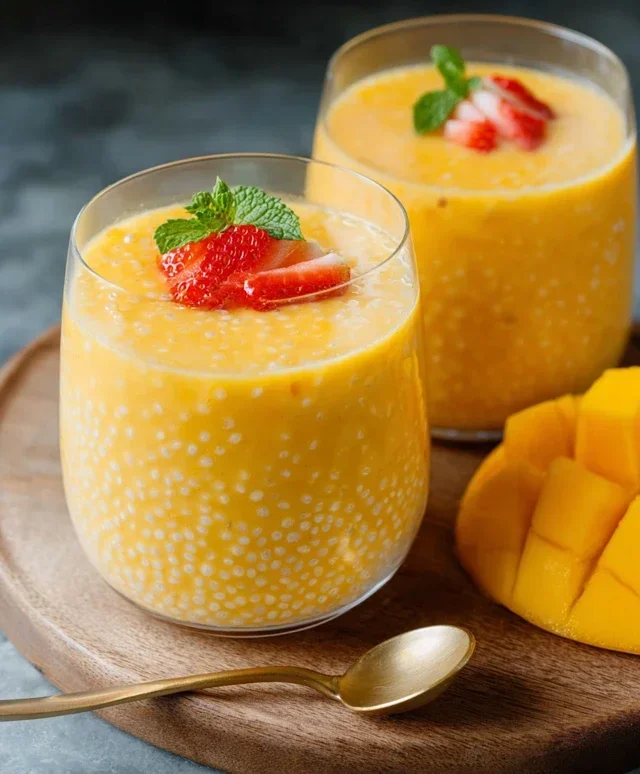
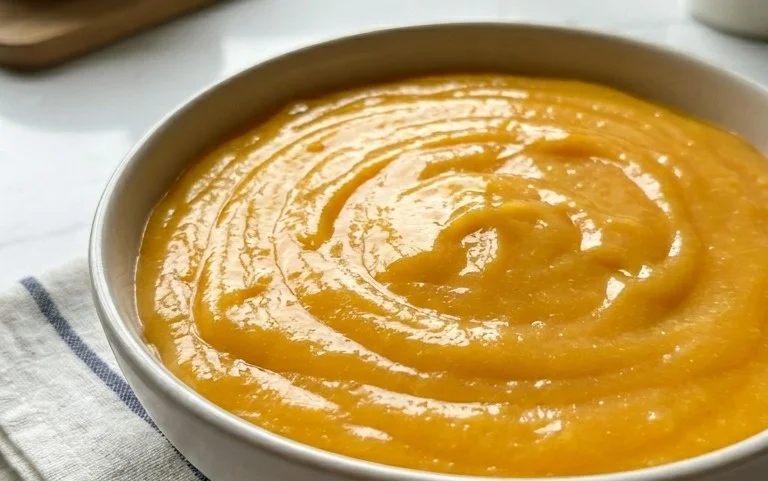
Fruit curd is a wonderfully versatile and utterly delicious condiment that brings a burst of tangy, creamy sweetness to countless dishes. It’s surprisingly simple to make at home, far superior to any store-bought version, and allows for endless flavour variations. Think of it as a sunshine-yellow (or vibrant pink, or deep orange!) jewel that can elevate your breakfast toast, a simple scone, a decadent cake, or even just a spoonful straight from the jar. The smooth, silky texture and bright fruit flavour are truly irresistible.
What makes curd so special is its balanced profile. It’s not just sweet; it has a delightful tartness from the fruit that cuts through the richness of the butter and eggs. This balance is key to its appeal, making it refreshing rather than cloying.
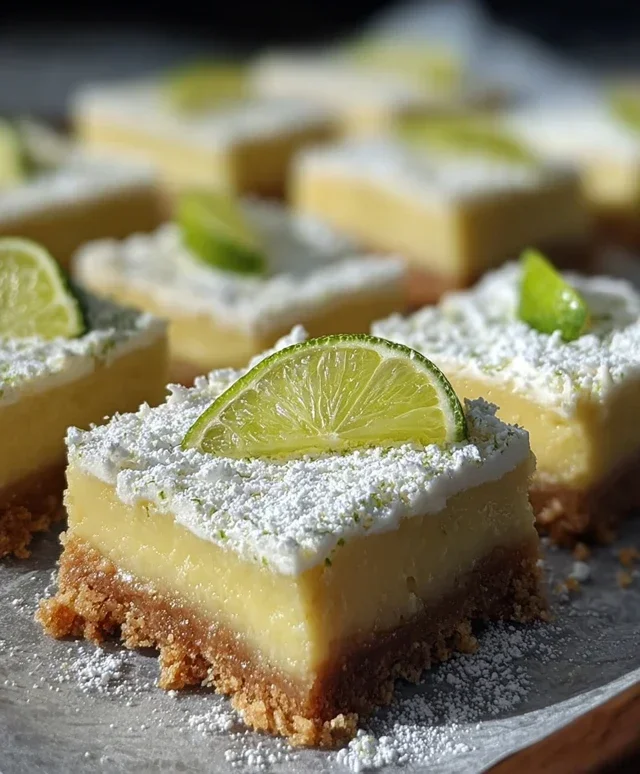
While lemon curd is perhaps the most classic, the beauty of curd lies in its adaptability. Any tart fruit can be transformed into a glorious curd. Citrus fruits like lime, grapefruit, or blood orange are natural choices, but berries, passionfruit, and even rhubarb can be coaxed into creating their own unique curds. Today, we’ll be focusing on a vibrant and classic lemon curd, but feel free to experiment once you’ve mastered the technique!
Making curd might sound intimidating, but I promise it’s a straightforward process. It primarily involves gently cooking fruit juice, sugar, eggs, and butter until it thickens into a luscious consistency. The key is patience and a watchful eye to prevent the eggs from scrambling. Once you get the hang of it, you’ll be whipping up batches of your favourite curds in no time.
Ingredients:
Cooking Instructions:
Preparing Your Workspace and Ingredients
The first step is to ensure you have everything ready before you start cooking. This includes gathering all your ingredients and having your equipment within easy reach. You’ll need a medium-sized, heavy-bottomed saucepan – this is crucial for even heating and preventing scorching. A whisk is essential for smoothly incorporating the ingredients and creating that silky texture. You’ll also need a fine-mesh sieve and a bowl to strain the curd, which will remove any chance of cooked egg bits and ensure a perfectly smooth finish. If you’re using lemon zest, make sure to zest your lemon before juicing it. A microplane grater works best for this, as it produces fine zest without any of the bitter white pith.
Gently Cooking the Curd
In your heavy-bottomed saucepan, whisk together the 4 large eggs and the 1 cup of granulated sugar. Whisk vigorously until the mixture is well combined and has a pnon-alcoholic ale yellow colour. Don’t be afraid to whisk for a good minute or two; this helps to dissolve the sugar and incorporate a little air, which contributes to a lighter curd. Next, pour in the 2/3 cup of fresh lemon juice. If you’ve decided to include the lemon zest for an intensified citrus punch, add it now. Whisk everything together again until it’s smooth.
The Crucial Heating Process
Now comes the most important part: cooking the curd. Place the saucepan over medium-low heat. It’s vital to use low to medium-low heat. High heat will cause the eggs to scramble, resulting in a grainy, unappetizing curd. You need to cook the mixture gently, stirring constantly with your whisk. As the mixture heats, you’ll notice it will start to thicken. Keep whisking, making sure to scrape the bottom and sides of the pan to prevent any sticking or cooking. This process will take about 8-10 minutes. You’re looking for the curd to reach a consistency that coats the back of a spoon. A good test is to draw a line through the curd with your finger; if the line holds and doesn’t immediately run back together, it’s ready. Be patient; this gradual thickening is what creates that luxurious texture.
Incorporating the Butter
Once the curd has thickened to the desired consistency and you’ve removed it from the heat (this is important to stop the cooking process immediately), it’s time to add the butter. Add the 1/4 cup of unsalted butter, cut into small cubes, one or two pieces at a time, whisking continuously until each piece is fully melted and incorporated before adding the next. The butter is what gives the curd its rich, glossy finish and luxurious mouthfeel. Keep whisking until the butter is completely melted and the curd is smooth and emulsified. It might look a little thin right after you add the butter, but as it cools, it will thicken further.
Straining for Ultimate Smoothness
For the silkiest, most professional-looking curd, straining is an essential step. Place a fine-mesh sieve over a clean bowl. Carefully pour the warm curd through the sieve into the bowl. This simple step will catch any tiny bits of cooked egg that might have formed, even with careful whisking, and ensure a perfectly smooth, velvety texture that is absolutely divine. Give the bowl a gentle swirl to help the curd pass through the sieve. You can use a spatula to gently push the curd through if needed, but avoid pressing too hard, as you want the liquid to flow through naturally.
Cooling and Storing Your Delightful Curd
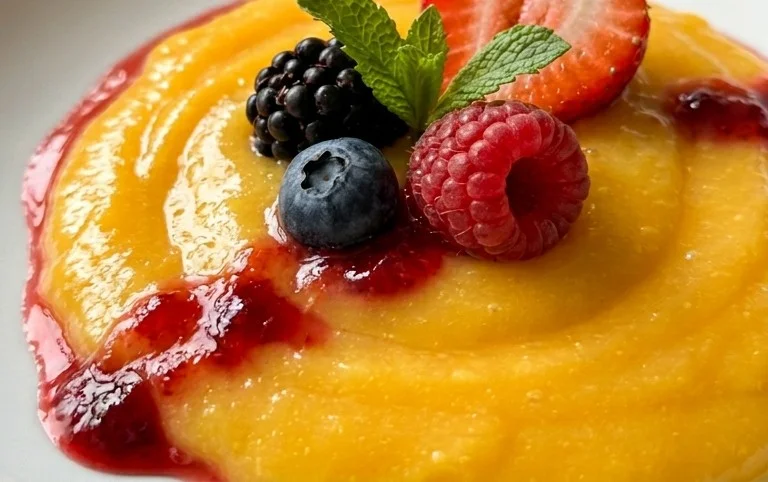
Once strained, cover the surface of the curd directly with plastic wrap. This “skin-on” method prevents a skin from forming on top as it cools. Allow the curd to cool at room temperature for about 30 minutes, then transfer it to the refrigerator to chill completely. It will continue to thicken significantly as it cools. Once thoroughly chilled, remove the plastic wrap. Your beautiful fruit curd is now ready to be enjoyed! Store it in an airtight container in the refrigerator for up to a week. It’s perfect for spreading on toast, filling tarts, dolloping on yogurt, or enjoying by the spoonful.
Conclusion:
You’ve now got the essential guide to creating your own delicious fruit curd! This recipe is a true kitchen gem because it’s incredibly versatile, surprisingly simple to make, and delivers a burst of vibrant, tangy flavor that elevates any dessert. Imagin extracte the satisfaction of spooning a silky smooth, intensely fruity curd over warm scones, dolloping it onto yogurt, or using it as a luscious filling for cakes and tarts. The possibilities are truly endless!
Beyond the classic lemon, don’t shy away from experimenting with other fruits like lime, passionfruit, raspberry, or even mango for a tropical twist. Each variation offers a unique flavor profile to explore. I truly encourage you to give this fruit curd recipe a try. It’s a rewarding experience that will impress your friends and family and become a go-to in your baking repertoire. Get ready to discover a new favorite way to enjoy fresh fruit!
Frequently Asked Questions:
Q: How long does fruit curd last?
Properly stored in an airtight container in the refrigerator, homemade fruit curd generally lasts for about 1 to 2 weeks. The key is to ensure it’s cooled completely before sealing and refrigerating.
Q: Can I make fruit curd without eggs?
While traditional fruit curd relies on eggs for richness and thickening, you can achieve a similar texture using cornstarch or agar-agar as a vegan alternative. However, the flavor and mouthfeel will be slightly different from a classic egg-based curd.
Fruit Curd
A smooth and tangy fruit curd, perfect for tarts, cakes, or simply enjoyed with a spoon.
Ingredients
-
6 large egg yolks
-
1 cup granulated sugar
-
1/2 cup unsalted butter
-
1/2 cup fresh lemon juice
-
1/2 cup fresh lime juice
Instructions
-
Step 1
Whisk together egg yolks and granulated sugar in a heatproof bowl until pale and thick. -
Step 2
Stir in the unsalted butter until combined. -
Step 3
Gradually whisk in the fresh lemon juice and fresh lime juice. -
Step 4
Place the bowl over a saucepan of simmering water (double boiler method), ensuring the bottom of the bowl does not touch the water. -
Step 5
Cook, stirring constantly, until the curd thickens enough to coat the back of a spoon, about 8-10 minutes. Do not boil. -
Step 6
Remove from heat and strain through a fine-mesh sieve into a clean bowl or jar. Press plastic wrap directly onto the surface to prevent a skin from forming. -
Step 7
Chill thoroughly before serving or using.
Important Information
Nutrition Facts (Per Serving)
It is important to consider this information as approximate and not to use it as definitive health advice.
Allergy Information
Please check ingredients for potential allergens and consult a health professional if in doubt.