Blender Salsa- Restaurant Style Easy Recipe
Blender Salsa (Restaurant Style Salsa) – that’s the magic phrase that instantly transports me back to my favorite taqueria, where a vibrant, chunky bowl of red goodness is always waiting. We all know and love that authentic, restaurant-style salsa, don’t we? It’s the perfect balance of fresh, bright flavors, with just the right amount of kick to make your taste buds sing. Forget those watery, bland store-bought versions; this blender salsa recipe is going to be your new best friend for taco nights, chips and dips, or even as a topping for grilled meats.
What makes this restaurant-style salsa so special?
It’s the simplicity and the speed! In just minutes, your blender transforms humble ingredients into a flavor explosion. We’re talking about achieving that perfect texture – not too smooth, not too chunky – that only the best salsas possess. This blender salsa is incredibly versatile and customizable, allowing you to adjust the spice level and ingredients to your exact preference. Get ready to impress yourself and everyone you share it with!
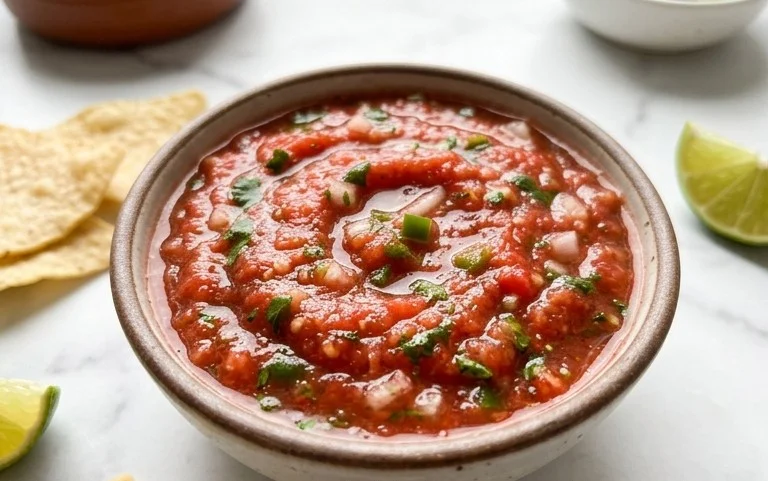
Blender Salsa (Restaurant Style Salsa)
There are few things more satisfying than a bowl of fresh, vibrant salsa, especially when it’s the kind you find at your favorite Mexican restaurant – chunky, flavorful, and with just the right amount of kick. Forget those store-bought jars; this blender salsa recipe is so easy and so delicious, you’ll wonder why you ever settled for less. The beauty of this recipe lies in its simplicity and the speed at which you can achieve restaurant-quality results right in your own kitchen. It’s perfect for impromptu get-togethers, a taco night upgrade, or simply for dipping tortilla chips whenever the craving strikes.
What makes this salsa “restaurant style”? It’s all about the texture and the balanced flavor profile. Using a blender allows us to achieve a wonderfully fresh, slightly chunky consistency that mimics what you’d get when salsa is made in batches in a commercial kitchen, but without any artificial preservatives or stabilizers. The ingredients are straightforward, readily available, and come together to create a symphony of tastes – the sweetness of the tomatoes, the sharp bite of the onion, the herbaceous notes of cilantro, the tang of lime, and the subtle heat from the chili pepper. Don’t be afraid of the jalapeño; you can control the heat level, and even a small amount adds a wonderful depth.
This recipe is incredibly forgiving and adaptable. Feel free to adjust the amount of jalapeño to suit your spice preference. If you like it hotter, leave some of the seeds in or opt for a serrano pepper. If you prefer it milder, remove all the seeds and membranes from the jalapeño. The key is to taste and adjust as you go. This salsa is best served fresh, but it will keep in the refrigerator for a few days, allowing the flavors to meld even further. It’s a versatile condiment that elevates everything from eggs to grilled meats.
Ingredients:
Instructions:
Conclusion:
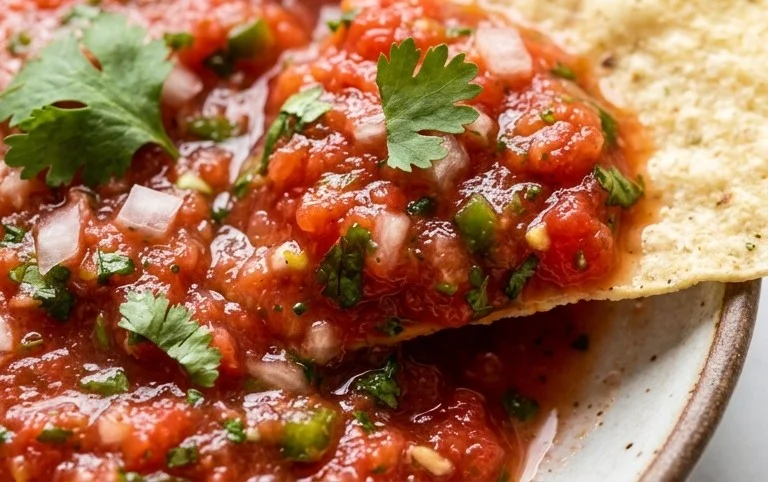
And there you have it – your guide to creating incredibly fresh, vibrant, and truly restaurant-style salsa right in your own kitchen! This Blender Salsa recipe is a game-changer because it’s unbelievably quick, requires minimal effort, and delivers a burst of flavor that’s far superior to anything you can buy in a jar. The beauty of using a blender is its ability to finely chop and emulsify the ingredients, creating that perfect, smooth yet textured consistency that we all love from our favorite Mexican restaurants. It’s fantastic for game nights, taco Tuesdays, or simply as a healthy snack.
Don’t be afraid to get creative with serving suggestions! Beyond the classic tortilla chips, this blender salsa is a perfect topping for grilled chicken or fish, a zesty addition to scrambled eggs, or even mixed into a creamy avocado dip. For variations, consider adding a pinch of smoked paprika for depth, a dash of cayenne pepper for extra heat, or even a spoonful of roasted corn for a sweet and smoky twist. I truly encourage you to give this simple yet sensational Blender Salsa recipe a try; you’ll be amazed at how easy it is to achieve such delicious results.
Frequently Asked Questions:
Can I make this salsa ahead of time?
Absolutely! This blender salsa actually tastes even better after a few hours in the refrigerator, allowing the flavors to meld together beautifully. It will keep well for up to 3-4 days in an airtight container.
What’s the best way to adjust the heat level?
The heat primarily comes from the jalapeño. For less spice, remove the seeds and membranes from the jalapeño before adding it to the blender. For more heat, leave them in, or even add an extra half jalapeño or a pinch of cayenne pepper.
Blender Salsa (Restaurant Style Salsa)
Quick and easy restaurant-style salsa made in a blender with fresh ingredients.
Ingredients
-
1 (14.5-ounce can) Diced Tomatoes (don’t drain)
-
1/4 small Red Onion (about 1/3 cup coarsely chopped)
-
1/4 cup Cilantro
-
1 Lime (zested and juiced)
-
1 Jalapeno Pepper (or Serrano Pepper) (seeded and coarsely chopped)
-
2 cloves Garlic (coarsely chopped)
-
1/4 teaspoon Ground Cumin
-
Salt (to taste)
-
Black Pepper (to taste)
Instructions
-
Step 1
Add diced tomatoes (undrained), red onion, cilantro, lime zest, lime juice, jalapeno pepper, and garlic to a blender. -
Step 2
Add ground cumin, salt, and black pepper. -
Step 3
Secure the lid on the blender. -
Step 4
Pulse the ingredients until a chunky yet smooth consistency is reached. Avoid over-blending for a better texture. -
Step 5
Taste and adjust salt and pepper as needed. -
Step 6
Transfer to a serving bowl and let it sit for at least 10-15 minutes to allow flavors to meld before serving. Serve with tortilla chips.
Important Information
Nutrition Facts (Per Serving)
It is important to consider this information as approximate and not to use it as definitive health advice.
Allergy Information
Please check ingredients for potential allergens and consult a health professional if in doubt.