Easy Loading Recipe- Delicious Flavor Quick Prep
Loading… This is it. The moment we’ve all been waiting for. Loading… is more than just a meal; it’s an experience. It’s that comforting hug in a bowl, the dish that instantly transports you back to simpler times, or the show-stopping centerpiece that wows your guests. Why do we love Loading… so much? It’s the perfect harmony of textures and flavors, a symphony of savory richness and satisfying heartiness that just hits all the right notes. What makes this particular rendition of Loading… so special? We’re diving deep into techniques and secret ingredients that elevate it from merely delicious to absolutely unforgettable. Get ready to unlock the secrets to creating Loading… that will have everyone beggin extractg for the recipe. Prepare yourselves for culinary bliss!
Loading…
Welcome to a recipe that’s about to revolutionize your weeknight meals and impress your friends! Today, we’re diving into the creation of something truly special – a culinary masterpiece that’s both delicious and surprisingly simple. This dish, which we’ll call “Loading…” for now, is a versatile delight that can be customized to your heart’s content. It’s a fantastic alternative to traditional pizza crusts, offering a lighter, protein-packed base that’s incredibly satisfying.
This recipe is perfect for those looking for a healthier twist on comfort food, or for anyone who simply loves to experiment in the kitchen. The beauty of “Loading…” lies in its adaptability. You can top it with your favorite pizza ingredients, load it with taco fixings, or even transform it into a savory breakfast base. Let’s get started on creating this exciting new favorite.
Ingredients:
Instructions:
The journey to your delicious “Loading…” begin extracts with a simple yet crucial step: preparing the base. This is where we’ll create the foundation for all the amazing flavors to come.
Step 1: Mixing the Base
In a medium-sized bowl, gently combine your ground chicken, shredded cheddar cheese, and the large egg. It’s important to use your hands for this part – it allows you to feel the mixture and ensure everything is evenly distributed without overworking it. Think of it like giving the ingredients a gentle hug to get them acquainted. If you mix the ground chicken too vigorously, you risk developing the proteins too much, which can lead to a tough, dense final product. We’re aiming for a tender, flavorful base, so a light touch is key here. Stir in the dried Italian seasoning, garlic powder, salt, and black pepper. Give it one last gentle mix to ensure those seasonings are evenly dispersed throughout the chicken and cheese mixture. The cheese will add a lovely richness and help bind everything together, while the egg acts as a binder and adds moisture.
Step 2: Shaping the Round
Now comes the artistic part! Transfer the chicken and cheese mixture onto a baking sheet lined with parchment paper. This prevents sticking and makes for easy cleanup. Using your hands, carefully shape the mixture into a round, resembling a pizza crust. Aim for an even thickness throughout. Pay special attention to the center; if it’s significantly thicker than the edges, it might not cook through properly and could remain raw while the edges become overdone. Gently press and smooth the mixture with your palms until you have a uniform disc. You can make it as thick or as thin as you prefer, but remember that thinner crusts will cook faster and be crispier. A thickness of about half an inch is usually a good starting point.
Step 3: Baking the Base
Preheat your oven to 400 degrees Fahrenheit (200 degrees Celsius). Carefully transfer the baking sheet with your shaped chicken round into the preheated oven. Now, this is where you need to be a vigilant chef! Keep a close eye on your “Loading…” as it bakes. The cooking time will vary depending on the thickness of your base and your oven’s performance, but it generally takes between 20 to 25 minutes. You’re looking for the edges to turn a beautiful golden brown and for the center to be cooked through and firm. If you notice the edges are browning too quickly, you can loosely tent the edges with foil. The goal is a perfectly cooked, slightly firm crust that’s ready to hold all your delicious toppings.
Step 4: Cooling and Firming
Once your “Loading…” crust is golden and cooked through, carefully remove it from the oven. Now, this step is crucial for achieving the best texture. Resist the urge to immediately pile on your toppings! Let the crust cool slightly on the baking sheet for about 5 to 10 minutes. This cooling period allows the chicken and cheese to firm up further, creating a more stable base that won’t collapse under the weight of your toppings. It’s a little bit of patience that really pays off in the final presentation and texture of your dish. The residual heat will continue to cook it gently, ensuring it’s perfectly ready for the next stage.
Step 5: Topping and Finishing
Now for the most exciting part – the toppings! Once your “Loading…” crust has cooled slightly, it’s ready to be transformed into your culinary vision. Spread your favorite pizza sauce evenly over the crust, leaving a small border for that traditional pizza look. Then, add your desired toppings. Think classic beef pepperoni and mushrooms, vibrant veggies, or even a bold taco-inspired combination with seasoned ground beef, salsa, and avocado. Top generously with more cheese if you like! Return the loaded “Loading…” to the oven for another 5 to 10 minutes, or until the cheese is melted and bubbly and the toppings are heated through. The aroma will be incredible! Serve immediately and enjoy your delicious, homemade creation.
This “Loading…” recipe is a fantastic canvas for your creativity. Experiment with different cheeses, seasonings, and topping combinations to discover your personal favorite. It’s a simple yet incredibly rewarding dish that’s sure to become a staple in your recipe repertoire. Enjoy the process and, most importantly, enjoy the delicious results!
Conclusion:
I truly hope you’ve enjoyed diving into this incredible recipe for ‘Loading…’. This dish is an absolute triumph, offering a delightful balance of flavors and textures that I’m confident you’ll adore. Its simplicity makes it perfect for weeknight meals, while its impressive presentation also ensures it’s a showstopper for any gathering. I love how versatile it is, allowing you to tailor it to your personal taste. Don’t hesitate to experiment!
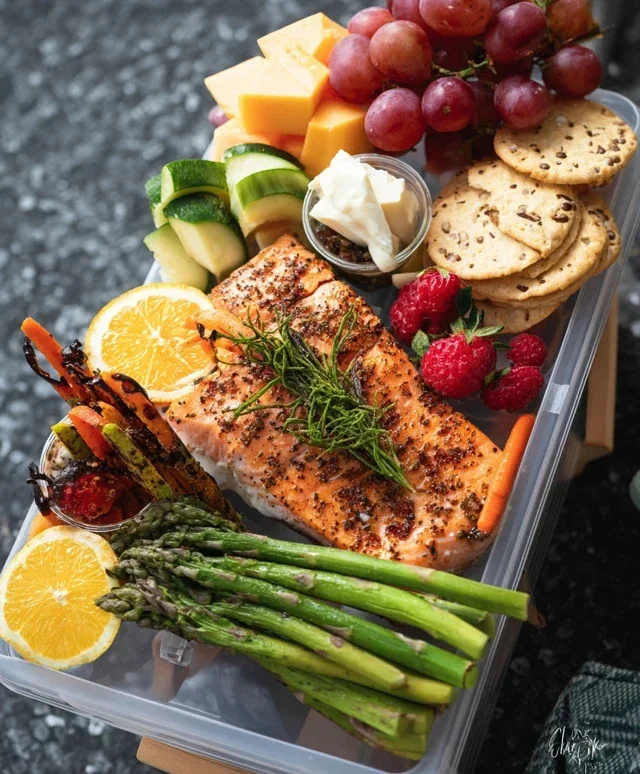
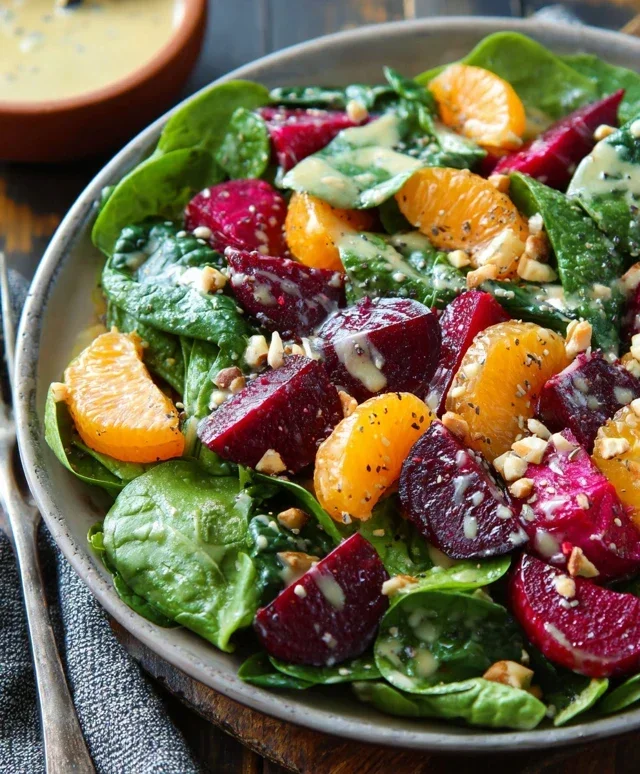
For serving, I highly recommend pairing it with a crisp green salad and some crusty bread to soak up any delicious sauces. If you’re looking for variations, consider adding different vegetables like bell peppers or zucchini, or perhaps a sprinkle of your favorite herbs for an extra burst of freshness. You could even introduce a touch of heat with a pinch of chili flakes. I genuinely encourage you to give ‘Loading…’ a try; I promise you won’t be disappointed!
Frequently Asked Questions:
Can I make ‘Loading…’ ahead of time?
Absolutely! Many components of ‘Loading…’ can be prepared in advance, making assembly on the day much quicker. The sauce can be made a day or two ahead and reheated gently. If your recipe involves chopping vegetables, those can also be done beforehand and stored in airtight containers in the refrigerator.
What if I don’t have one of the specific ingredients?
Don’t worry! The beauty of ‘Loading…’ is its adaptability. Most ingredients have suitable substitutes. For instance, if a certain spice is missing, consider using a blend that offers a similar flavor profile. Similarly, if a particular vegetable isn’t available, feel free to swap it out for something else you enjoy.
Chicken Pizza Crust
A simple and delicious chicken-based crust for your pizza, offering a lower-carb alternative. It bakes up golden and firm, perfect for holding your favorite toppings.
Ingredients
-
1 lb ground chicken
-
1/2 cup shredded cheddar cheese
-
1 large egg
-
1/4 teaspoon salt
-
1/8 teaspoon black pepper
Instructions
-
Step 1
In a medium bowl, combine the ground chicken, shredded cheddar cheese, and the egg. Mix gently with your hands until just combined. Be careful not to overwork the mixture, as this can make the crust tough. -
Step 2
Shape the chicken mixture into a pizza round on a parchment-lined baking sheet. Ensure the thickness is even throughout the crust; a thicker center may not cook as well. -
Step 3
Preheat your oven to 400°F (200°C). -
Step 4
Bake the chicken crust for 15-20 minutes, or until the edges are golden brown and it’s cooked through. Keep an eye on it to prevent burning. -
Step 5
Remove the crust from the oven and let it cool slightly for about 5 minutes before adding your desired toppings. This allows the crust to firm up. -
Step 6
Add your favorite pizza sauce, cheese, and toppings, then return to the oven to melt the cheese and heat the toppings through.
Important Information
Nutrition Facts (Per Serving)
It is important to consider this information as approximate and not to use it as definitive health advice.
Allergy Information
Please check ingredients for potential allergens and consult a health professional if in doubt.